Master Drywall Installation: Step-by-Step Guide to Success
ACME Construction’s Step-by-Step Guide to Professional Drywall Installation — For DIYers and Pros
Drywall is the backbone of clean, long-lasting walls and ceilings in homes and commercial spaces. Whether you’re tackling a DIY project or supervising a crew, knowing the right steps, tools, and finishing techniques makes the difference between a quick patch and a professional result. This guide walks through tools and materials, planning, hanging, finishing, common challenges, and when it makes sense to hire a pro.
What Are the Essential Tools and Materials for Professional Drywall Installation?
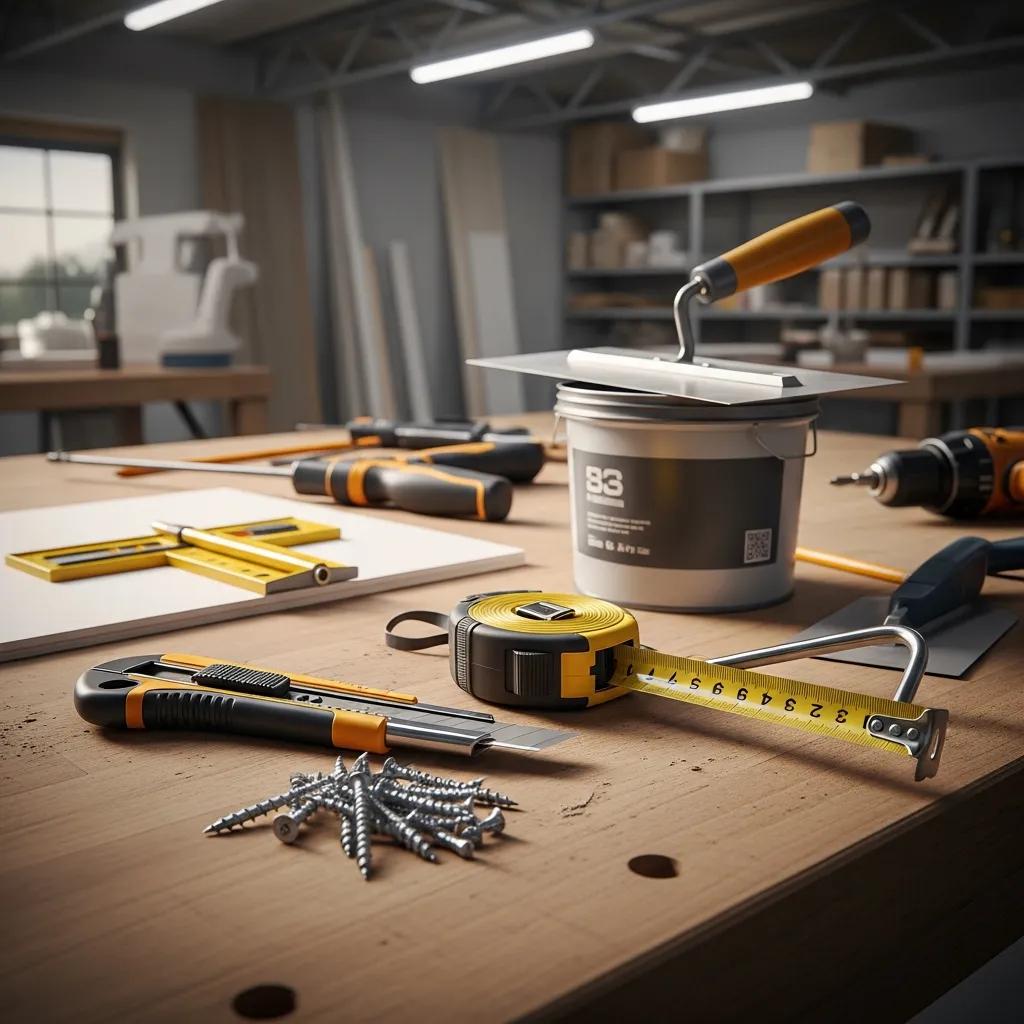
Getting the right gear before you start saves time and frustration. Here are the essentials:
- Drywall Sheets: Choose the correct size and type — standard, moisture-resistant, or fire-rated, depending on the room.
- Joint Compound: For taping, filling screw heads, and finishing seams.
- Drywall Tape: Paper or fiberglass tape to reinforce joints and prevent cracks.
- Screws: Drywall screws sized for your framing to hold sheets securely.
- Measuring Tools: Tape measure and T-square for accurate cuts and layout.
- Cutting Tools: Utility knife for straight cuts and a drywall saw for openings.
- Hanging Tools: Screw gun or drill for fast, consistent fastening.
With these items on hand, you’ll be prepared to hang and finish drywall efficiently and correctly.
Which Drywall Types and Materials Should You Choose for Your Project?
Match the drywall to the room’s needs:
- Standard Drywall: Good for most interior walls and ceilings.
- Moisture-Resistant Drywall: Use in bathrooms, kitchens, or any area with higher humidity.
- Fire-Rated Drywall: Required where building code or added fire protection is needed, such as garages or shared walls.
Picking the right type up front improves performance and helps avoid repairs later.
What Tools Are Needed for Measuring, Cutting, and Hanging Drywall?
For accurate, safe work, have these on hand:
- Tape Measure: Measure twice, cut once.
- T-Square: Keeps your cuts straight and square.
- Utility Knife: Score and snap drywall cleanly.
- Drywall Saw: Cut holes for outlets, windows, and fixtures.
- Screw Gun: Drives screws consistently without overdriving.
These tools help you work faster and produce cleaner results.
How Do You Plan and Prepare for a Successful Drywall Installation?
Good planning prevents costly mistakes. Follow these prep steps before you start hanging sheets.
How to Assess Your Space and Project Requirements Accurately?
Do a careful walkthrough and note these items:
- Measuring Dimensions: Measure wall and ceiling heights and widths accurately.
- Identifying Obstacles: Mark locations for outlets, windows, doors, and fixtures.
- Understanding Local Building Codes: Check any code or inspection requirements that affect materials or assembly.
This assessment tells you how many sheets, how much compound, and what special materials you’ll need.
Accounting for material waste and cutoffs is key to accurate ordering and budgeting.
Drywall Material Requirements: Cost & Waste Analysis
This study starts with shop drawings, then calculates material needs and includes allowances for waste and offcuts.
Study of the Use of Drywall as the Wall Cover Material Reviewed from Cost and Time Aspects, NKSE Yuni, 2023
What Are the Best Practices for Gathering Tools and Materials Efficiently?
Set yourself up for smooth work with three simple habits:
- Create a Checklist: List every tool and material so nothing gets forgotten.
- Organize Tools by Task: Keep cutting, hanging, and finishing tools grouped and accessible.
- Avoid Last-Minute Runs: Stage materials near the work area to minimize trips and interruptions.
These steps reduce downtime and keep the job moving.
What Are the Step-by-Step Procedures for Hanging Drywall Sheets Correctly?
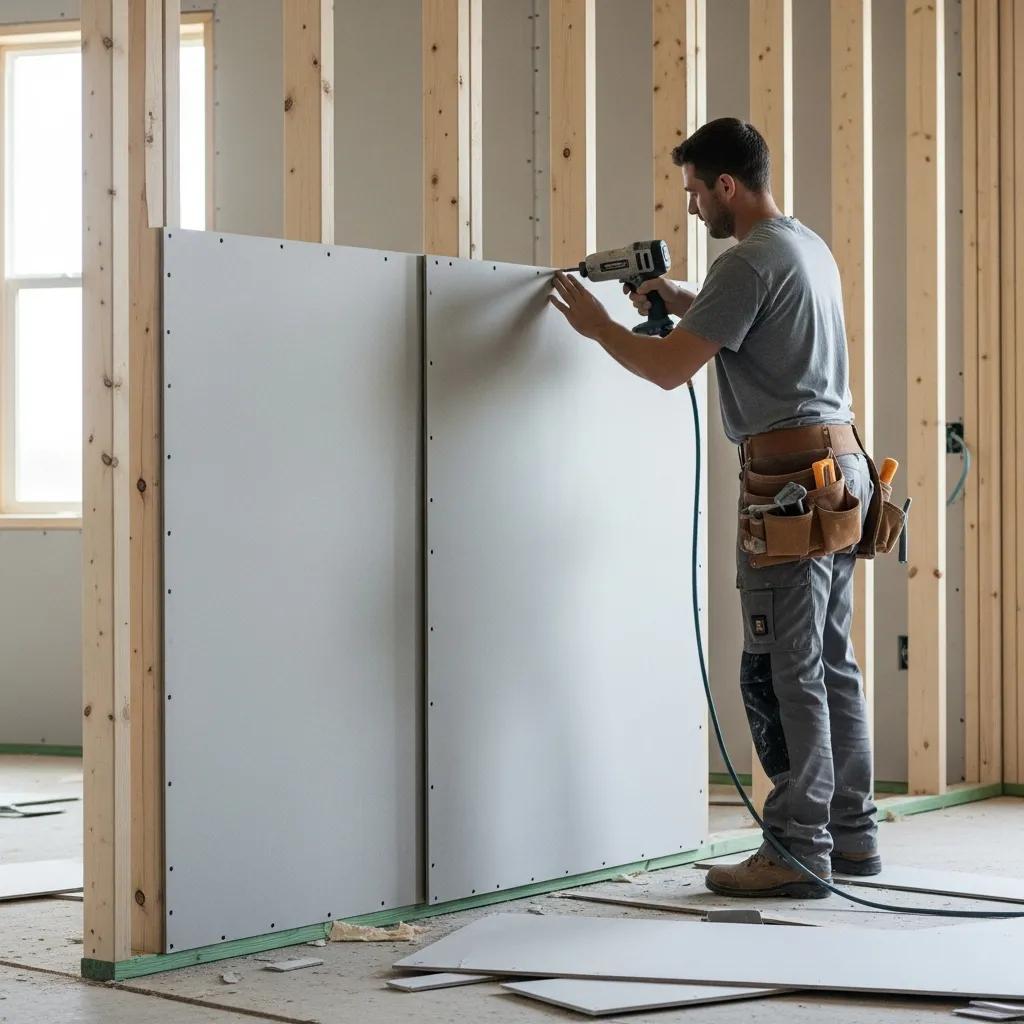
Hanging drywall is straightforward if you follow a logical order and pay attention to details. Here’s the standard workflow:
- Measure and Cut Drywall Sheets: Transfer measurements to the sheet and cut clean, straight edges with a utility knife.
- Secure Drywall to Framing: Start at the top, align the sheet, and fasten with screws. Typical spacing is every 12 inches on edges and every 16 inches in the field.
- Continue Hanging Sheets: Stagger seams between rows for strength and avoid long continuous seams where possible.
Follow these steps for a stable installation that’s ready for finishing.
How to Measure and Cut Drywall Sheets Precisely for Walls and Ceilings?
Simple, repeatable cutting steps:
- Use a Tape Measure: Mark cut lines clearly before scoring.
- Score the Sheet: Run a utility knife along a straightedge to score the face paper.
- Snap the Sheet: Bend the panel to break it cleanly along the score.
- Cut the Backing: Finish by cutting the paper on the back for a neat edge.
Clean cutting reduces gaps and makes finishing easier.
What Techniques Ensure Secure Drywall Attachment to Framing Structures?
Follow these practices to prevent problems later:
- Use Proper Screw Spacing: Edge screws every 12 inches and field screws every 16 inches unless code or framing requires otherwise.
- Check for Level: Keep sheets plumb and level as you install them.
- Use Adhesive: In some cases, applying construction adhesive to studs helps reduce nail pops and sagging.
These steps keep sheets flat and secure for a long-lasting wall or ceiling.
How Do You Apply Drywall Finishing Techniques for a Flawless Surface?

Finishing is where a project looks finished. Take your time on taping, mudding, and sanding for the best result.
What Are the Steps for Taping and Mudding Drywall Seams Professionally?
Follow this sequence for clean seams:
- Apply Joint Compound: Spread a thin bed of compound over the joint with a taping knife.
- Embed the Tape: Lay the tape into the wet compound and smooth out bubbles.
- Add Additional Coats: Apply two or more finish coats, feathering each coat wider than the last for a smooth transition.
Proper taping and feathering hide seams and reduce sanding work.
How to Sand and Prepare Drywall for Painting and Final Touches?
Final prep tips:
- Sand the Surface: Use fine-grit sanding to blend ridges and imperfections.
- Dust Control: Wipe surfaces with a damp cloth or use a vacuum attachment to remove dust.
- Inspect for Flaws: Look for pinholes or uneven areas and touch up as needed before priming.
Good prep makes painting faster and gives a much cleaner finish.
What Are Common Drywall Installation Challenges and How Can Professionals Overcome Them?
Even experienced crews run into problems. Knowing the usual trouble spots helps you avoid them or fix them quickly.
How to Handle Obstacles Like Outlets, Windows, and Corners During Installation?
Work around interruptions with these approaches:
- Cut Around Outlets: Mark outlet boxes on the sheet before cutting to minimize rework.
- Frame for Windows: Trim sheets to fit tightly around window jambs for a clean look.
- Manage Corners: Install metal or plastic corner bead and finish it flush with compound for crisp corners.
Planning cuts and using the right accessories keeps edges clean and durable.
What Are the Most Frequent Mistakes to Avoid in Drywall Installation?
Avoid these common slip-ups:
- Improper Measurements: Measure twice and mark once to prevent wasted material.
- Inadequate Fastening: Incorrect screw spacing or shallow screws lead to pops and sagging.
- Neglecting Finishing: Rushing tape and mud steps creates visible seams after paint.
Watch for these issues and you’ll save time on fixes later.
Why Choose ACME Construction for Your Drywall Installation Needs in Oklahoma City?
When you want a dependable, clean installation that lasts, hiring a local pro is often the smartest move. ACME Construction brings local experience, consistent quality, and crews who stand behind their work.
What Expertise and Quality Assurance Does ACME Construction Provide?
ACME Construction is an Oklahoma City contractor with hands-on experience in drywall installation and repair. Our in-house team focuses on clear communication, on-time work, and finished walls that meet code and customer expectations. We pair practical know-how with quality checks so projects finish right the first time.
How Can You Request a Free Consultation and Quote for Your Drywall Project?
Getting started is simple: contact ACME Construction for a free consultation and estimate. We’ll review the space, recommend materials and timelines, and provide a straightforward quote so you can make the best decision for your project.
Frequently Asked Questions
What are the common mistakes to avoid during drywall installation?
Common mistakes include incorrect measurements, poor screw placement, and rushing the finishing steps. Measure carefully before cutting, space screws correctly to avoid pops, and take time on taping and mudding so seams don’t show after paint. A little patience up front saves time and money later.
How can I ensure my drywall installation is energy efficient?
To improve efficiency, add insulation in wall cavities before drywall goes up or choose insulated drywall where appropriate. Seal gaps around windows, doors, and penetrations with caulk or foam to reduce drafts. These simple steps help with heating and cooling costs and improve comfort.
What should I do if I encounter mold on drywall?
If you find mold, identify and stop the moisture source first. Small, surface-level mold can sometimes be cleaned, but significant or hidden growth usually means the affected drywall should be removed and replaced with moisture-resistant material. Always use proper protective gear and follow local guidelines for mold remediation.
Can I use drywall in high-humidity areas?
Yes — use moisture-resistant drywall (often called green board) in bathrooms, laundry rooms, and other humid spots. Combine that with proper ventilation (fans, vents) to keep humidity down and prevent mold and deterioration.
What is the difference between drywall and plaster?
Drywall is factory-made gypsum panels that install quickly and finish with tape and compound. Plaster is applied in multiple wet coats over lath and requires more skill and time. Drywall is the modern standard for speed and cost; plaster is used where a specific traditional finish or durability is desired.
How do I maintain drywall after installation?
Inspect walls for dents, cracks, or water stains and repair them promptly. Clean lightly with a damp cloth, repaint when needed, and address any moisture issues quickly to prevent mold. Regular, small fixes keep walls looking new and avoid major repairs.